Beamex / Videos / How to calibrate HART pressure transmitters
Beamex made this video together with ISA (International Society of Automation).
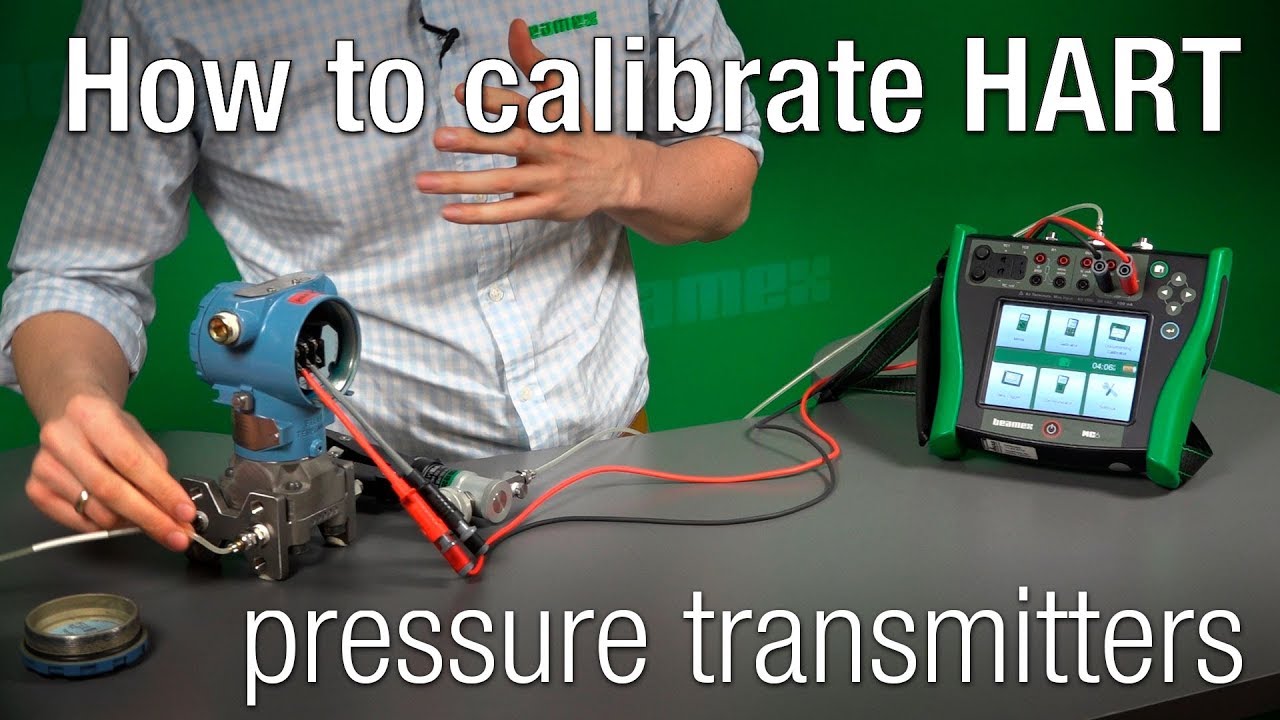
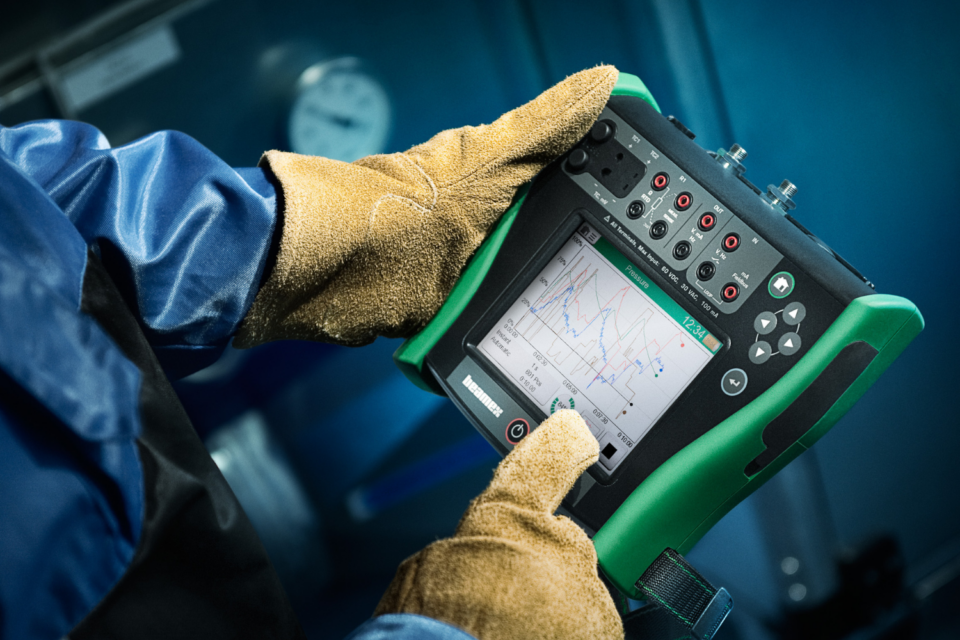
In this video, we will show you how to calibrate and trim (adjust) a HART pressure transmitter.
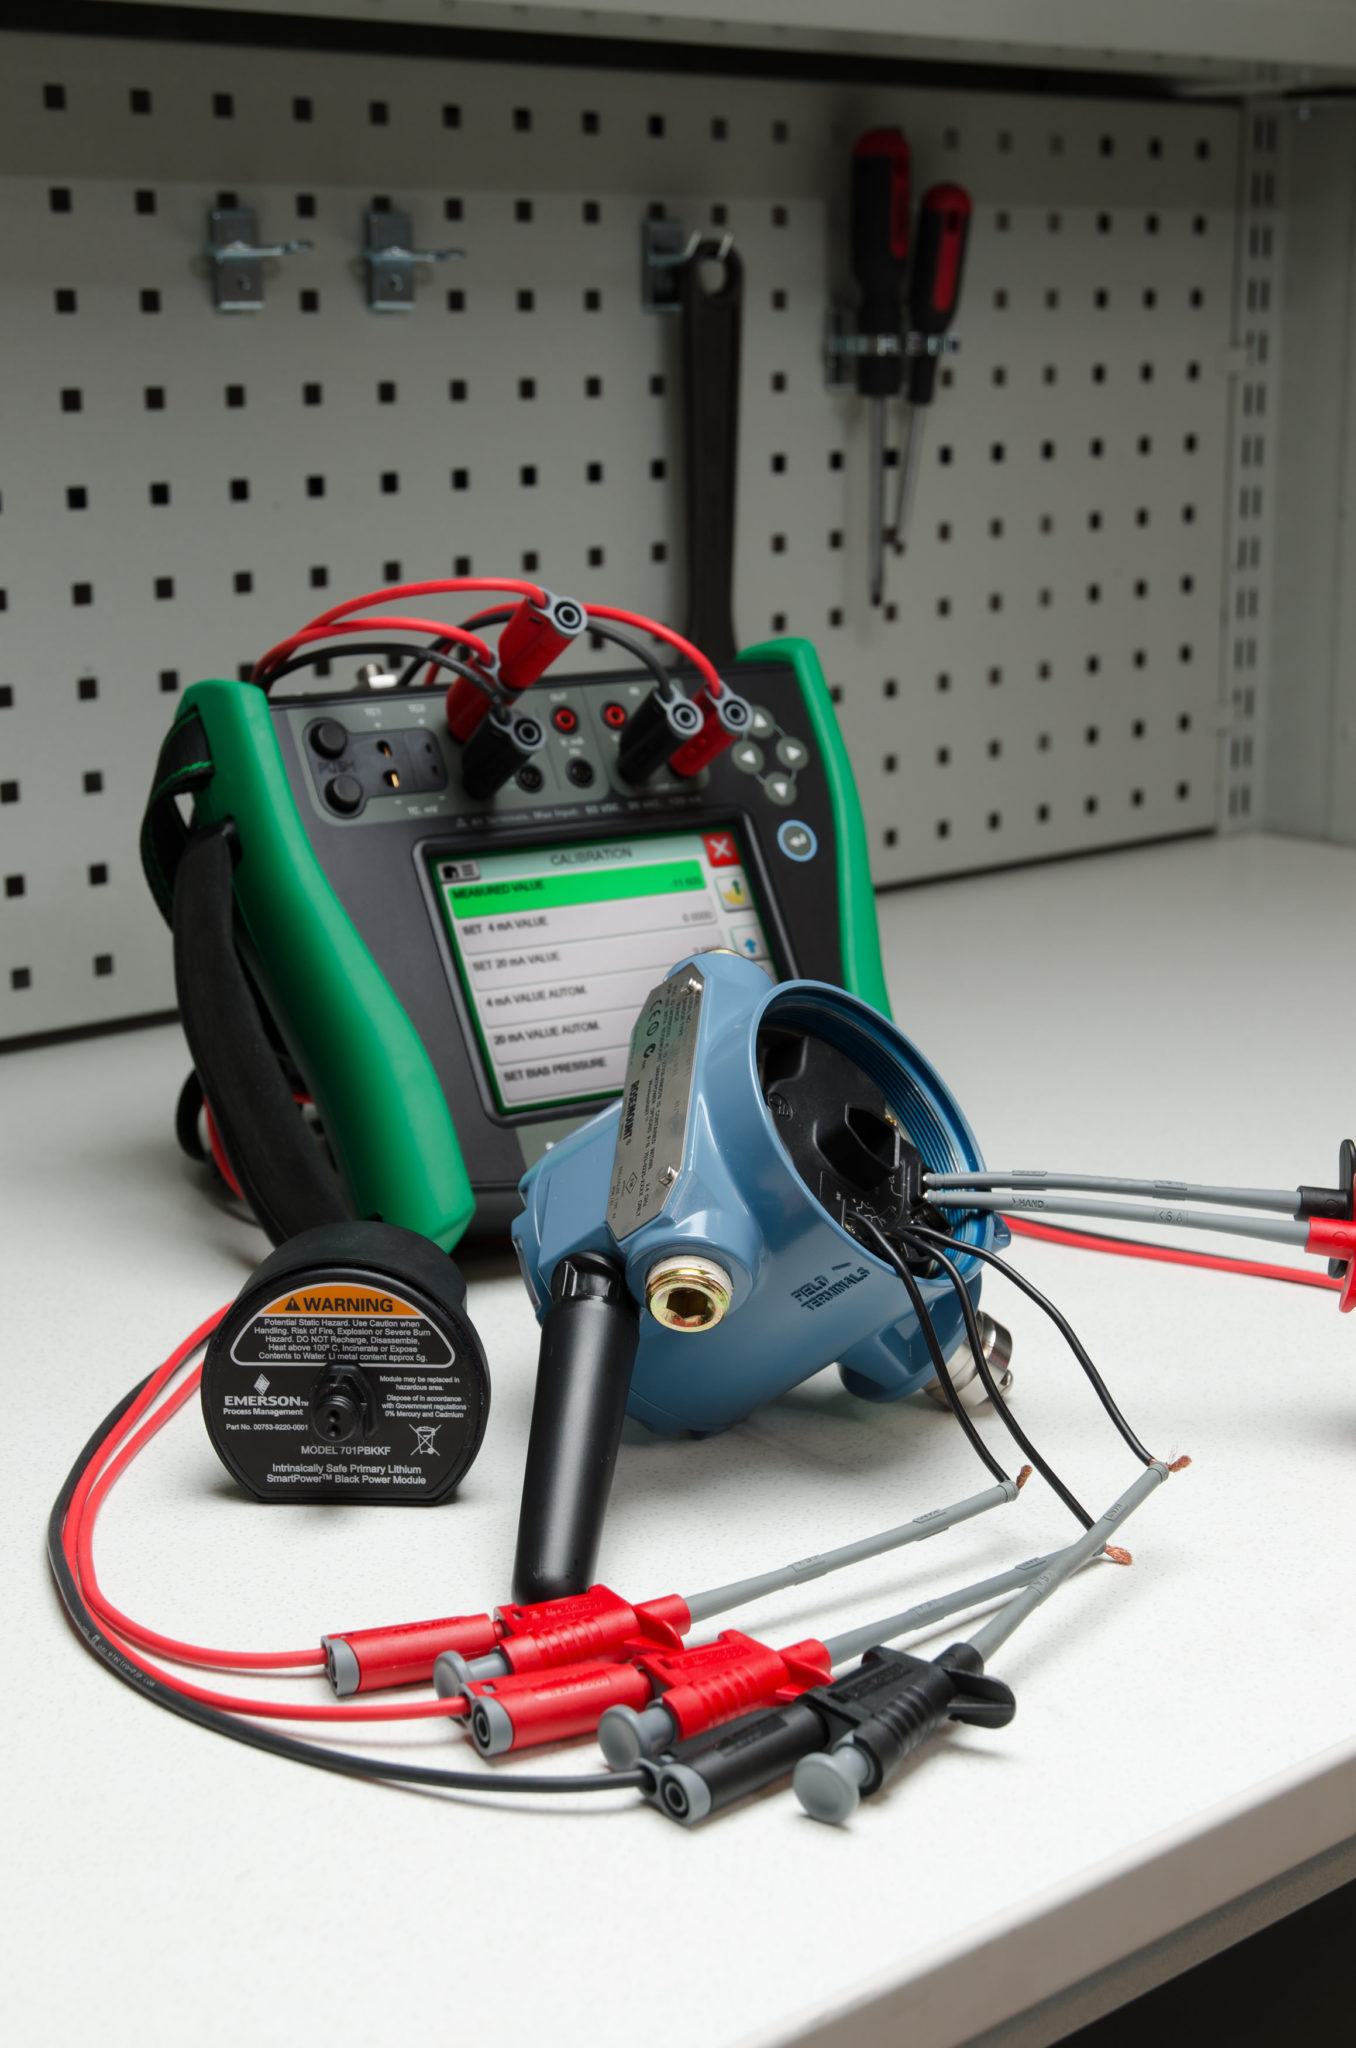
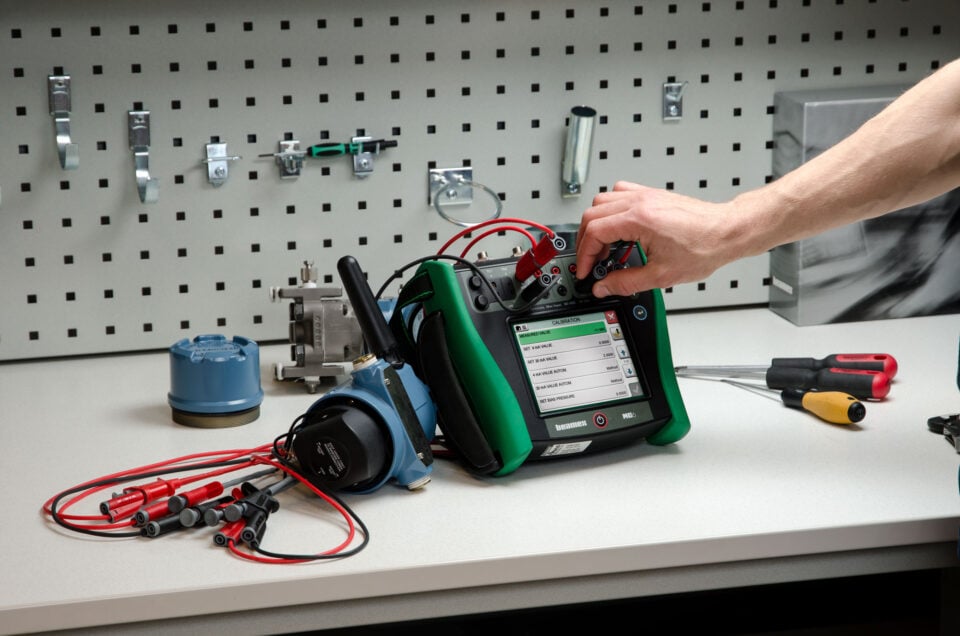
Beamex MC6 documenting calibrator and communicator is be used in this video to measure pressure, measure 4 to 20 mA signal, provide 24V loop supply and also as a HART communicator for the trimming. A calibration hand pump is used to provide the required pressure steps.
In this recalibration, first an As Found calibration is carried out to see how accurate the transmitter is, as it was taken from the use. The calibration was carried out with 5 steps rising and falling.
During the calibration, the MC6 calibrator will show both transmitter input pressure and output current, as well as the error in each step. Once the As Found calibration has been done, the results will be stored in the MC6 calibrator memory.
The As Found calibration was found to fail, as the error at the span point was slightly more than the max permissible error (tolerance).
As the As Found calibration failed, the transmitter needed to be trimmed/adjusted. Being a HART transmitter, the trimming is done using the MC6 as HART communicator. Using the MC6 the transmitter trim methods are carried out. As MC6 contains both communicator and calibrator, no other tools are needed.
After trimming, another (As Left) calibration was carried out. In that calibration, the transmitter was found to be very well within the tolerance limits, so the calibration passed. The As Left calibration was also saved in the calibrator memory.
Later on, the calibration results can be transferred from MC6 memory into calibration software, such as Beamex CMX Calibration Management software or Beamex LOGICAL Cloud-based calibration software.
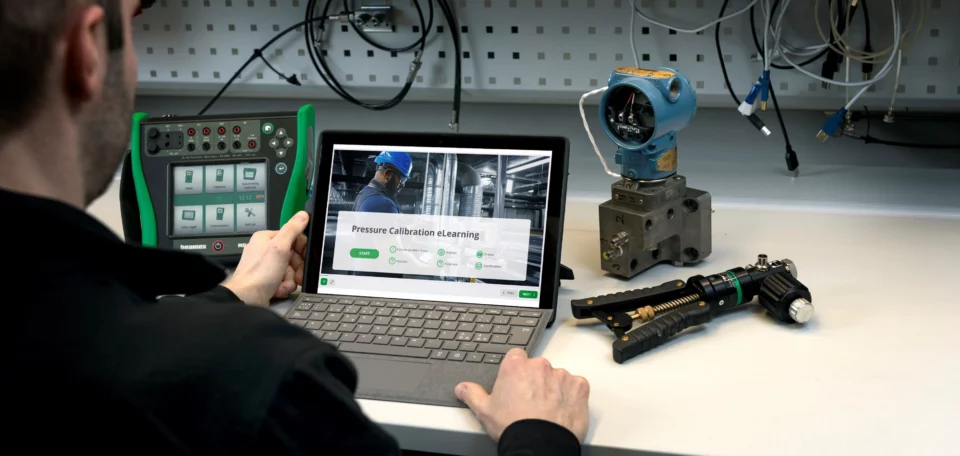
In this blog post, we want to share with you our new free eLearning course on industrial pressure calibration. With this online course you can conveniently study remotely at your own pace.
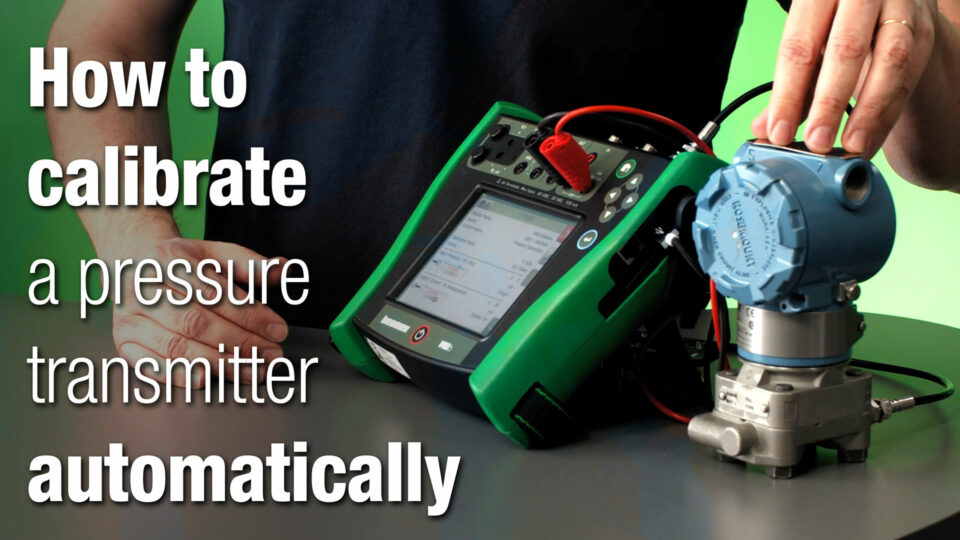
How to make a fully automatic calibration of a pressure transmitter using the Beamex ePG Electric Pressure Pump and the Beamex MC6 Multifunction Calibrator and Communicator.
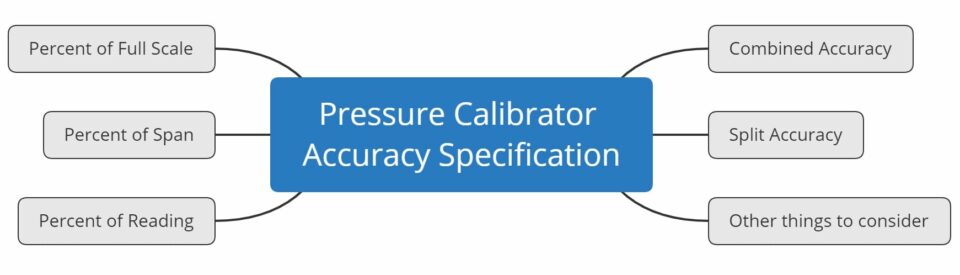
Comparing the accuracy specifications of pressure calibrators can be a challenging task because different manufacturers specify accuracy in different ways.
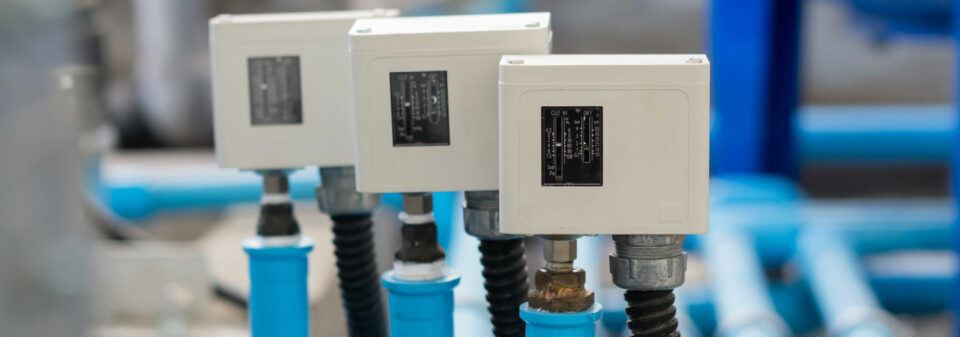
Temperature switches are commonly used in various industrial applications to control specific functions and they need to be calibrated regularly to ensure they are working accurately and reliably.
Most pressure transmitters are used in varying environmental conditions in the processes. Also, the temperature of the pressure media may vary widely during usage.
Pressure switches are very common instruments in the process industry and like many instruments, pressure switches need to be calibrated to ensure their accuracy and reliability.
The fundamental purpose of a wireless HART transmitter is the same as for other process transmitters – i.e. to measure the input process signal and convert that into an accurate output signal.
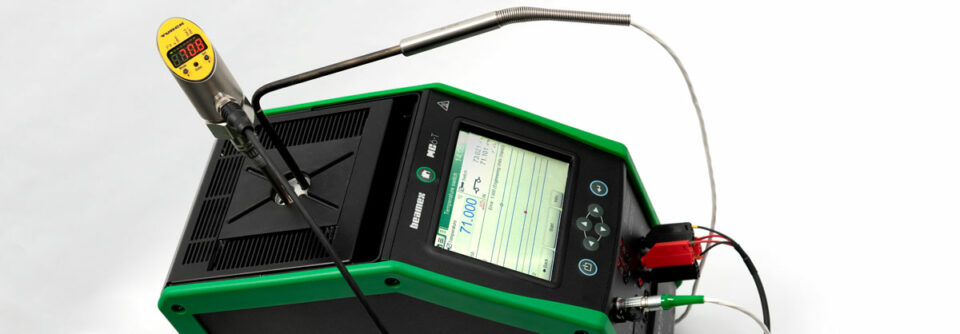
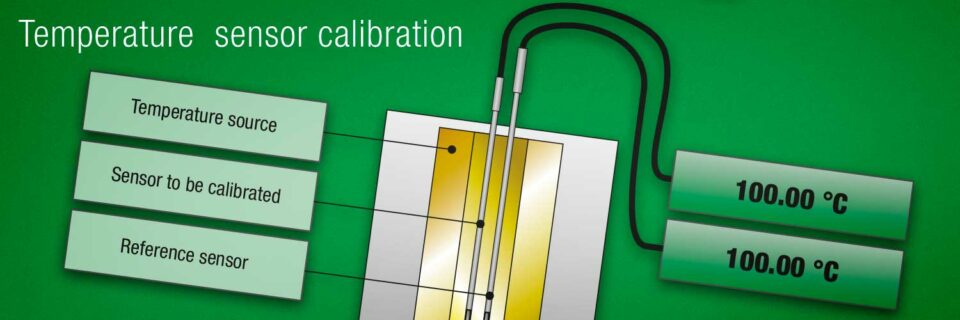
Why would you measure temperature, if you don’t care about the accuracy? As any measurement instrument you want to be accurate, also temperature sensors needs to be calibrated regularly.
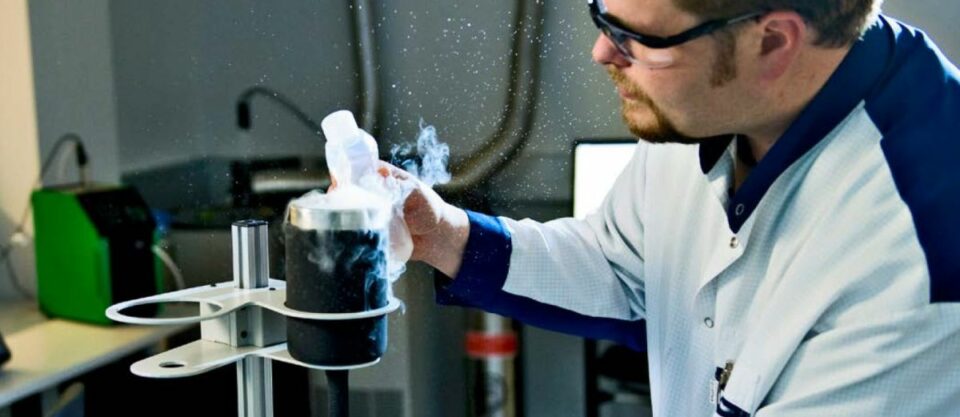
Thermocouples can be used to measure very high temperatures and are common temperature sensors in process plants and have a few benefits that makes them widely used.
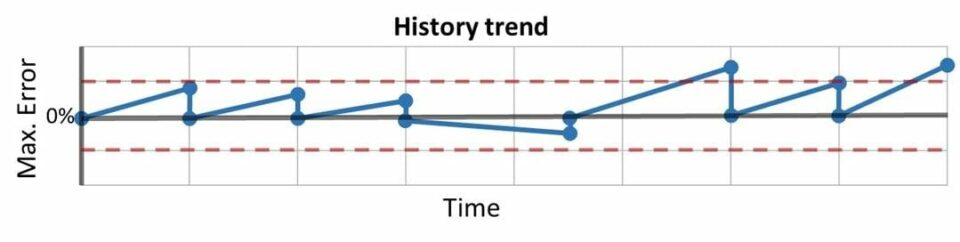
Calibration is extremely important. If instruments drift out of their specification range, the consequences can be disastrous for a plant, resulting in costly production downtime, safety issues and even inferior quality goods.
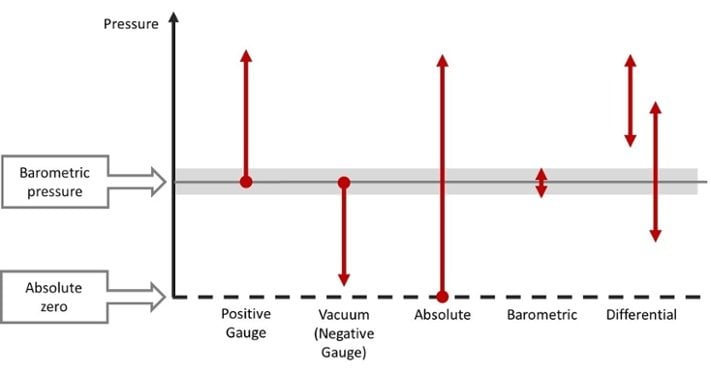
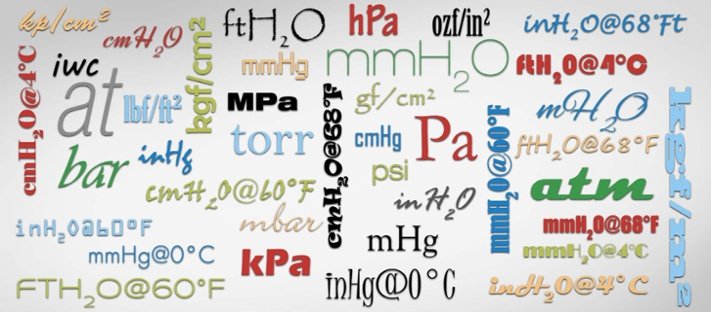
There are a lot of different pressure units in use around the world and sometimes this can be very confusing and may cause dangerous misunderstandings.
Calibration is extremely important. If instruments drift out of their specification range, the consequences can be disastrous for a plant, resulting in costly production downtime, safety issues and even inferior quality goods.
Calibration is extremely important. If instruments drift out of their specification range, the consequences can be disastrous for a plant, resulting in costly production downtime, safety issues and even inferior quality goods.
The so called “Smart” transmitters are getting ever more popular in the process industry, but what are these “Smart” transmitters and why must they be calibrated?
In this short video, Roy shows how to easily update the firmware of the Beamex MC6 calibrator. The latest firmware updates are always available on our website download center.
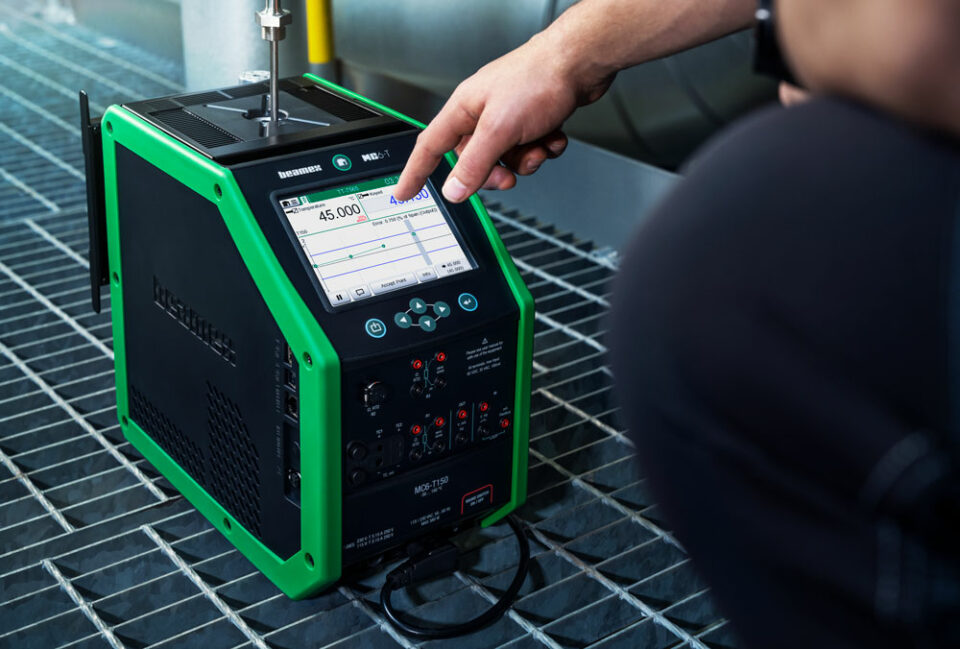
The temperature transmitter is a popular instrument in process plants. Like most transmitters, it needs to be calibrated to assure that it is operating accurately.
How to calibrate and trim a HART pressure transmitter with a HART communicator and how to document the results and print the calibration certificate.