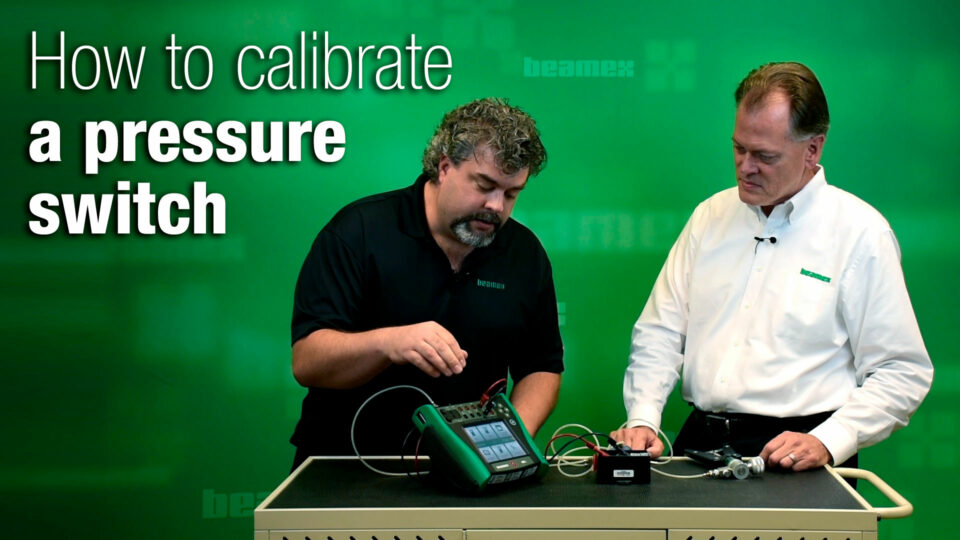
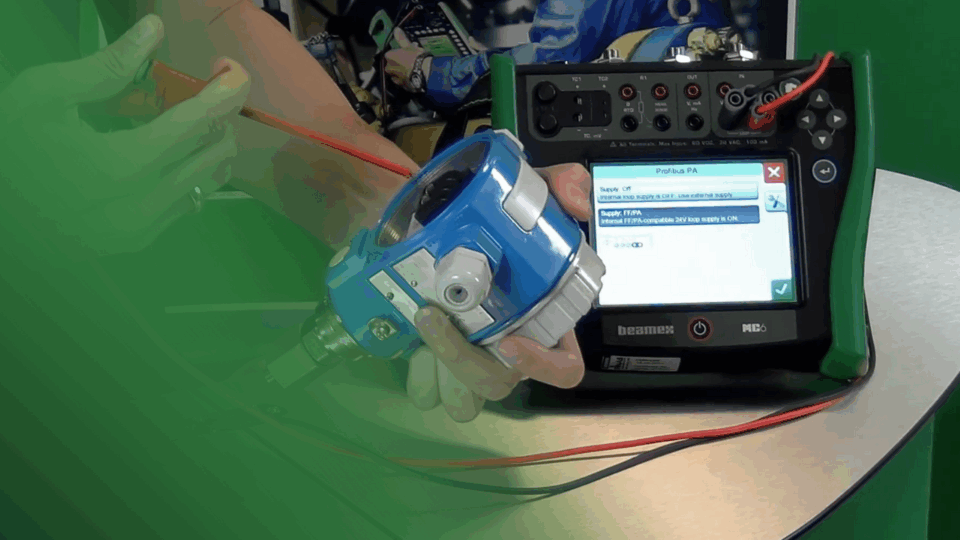
What is calibration? What does metrological calibration mean?
Let’s discuss a very fundamental question – What is calibration?
The word “calibration” may be used (and misused) in different contexts. Here, we are talking about metrological calibration in the world of measurement technology.
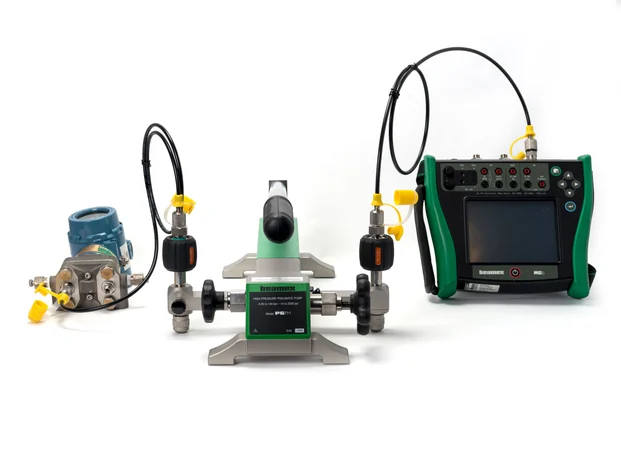
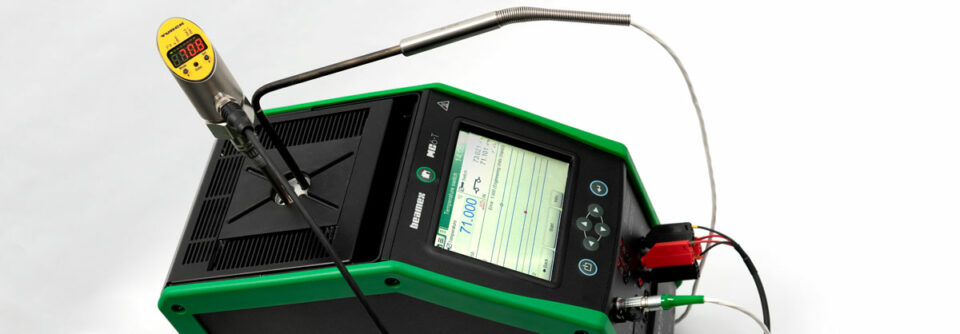
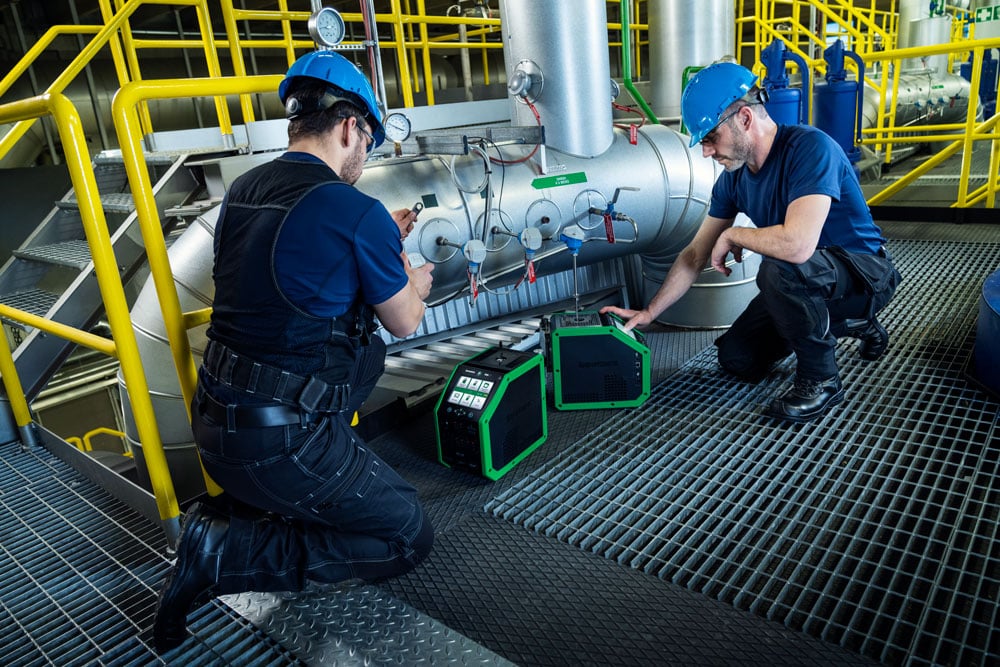
Formally, calibration is the documented comparison of the measurement device to be calibrated against a traceable reference device.
The reference standard may be also referred as a “calibrator.” Logically, the reference is more accurate than the device to be calibrated. The reference device should also be calibrated traceably, more on that, later on.
With some quantities, the reference is not always a device, but can also be for example a mass, mechanical part, physical reference, reference liquid or gas.
The above formal definition comes from the BIPM (Bureau International des Poids et Mesures).
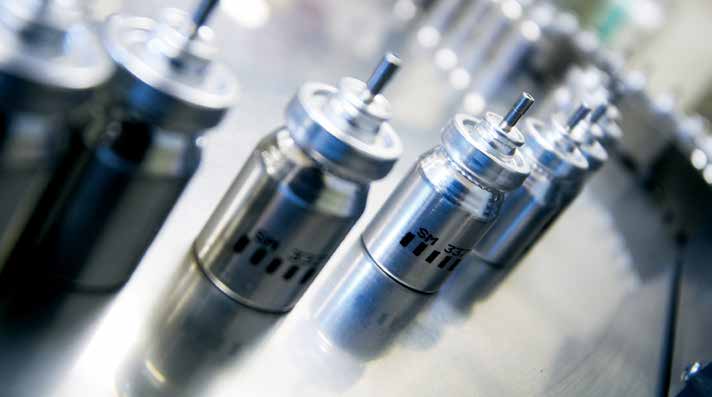
Everything is based on measurements
Measurements are behind many of the daily actions that we take for granted, like buying food, filling our vehicle’s gas tank, switching the lights on at home, or taking medicine.
Accurate measurements ensure that we get the right amount of food, fuel, and energy, and that our medication is safe. They ensure communities can function well and provide the foundations for safer and more sustainable businesses and societies.
The International System of Units (SI System)
The SI System is the international system of units, that specifies the basic units used in measurement science. SI System determinates 7 base units (meter, kilogram, second, ampere, kelvin, mole and candela) and 22 derived units. The base units are derived from constants of nature.
The SI System is maintained by the BIPM (Bureau International des Poids et Measures). More information can be found on BIPM website.
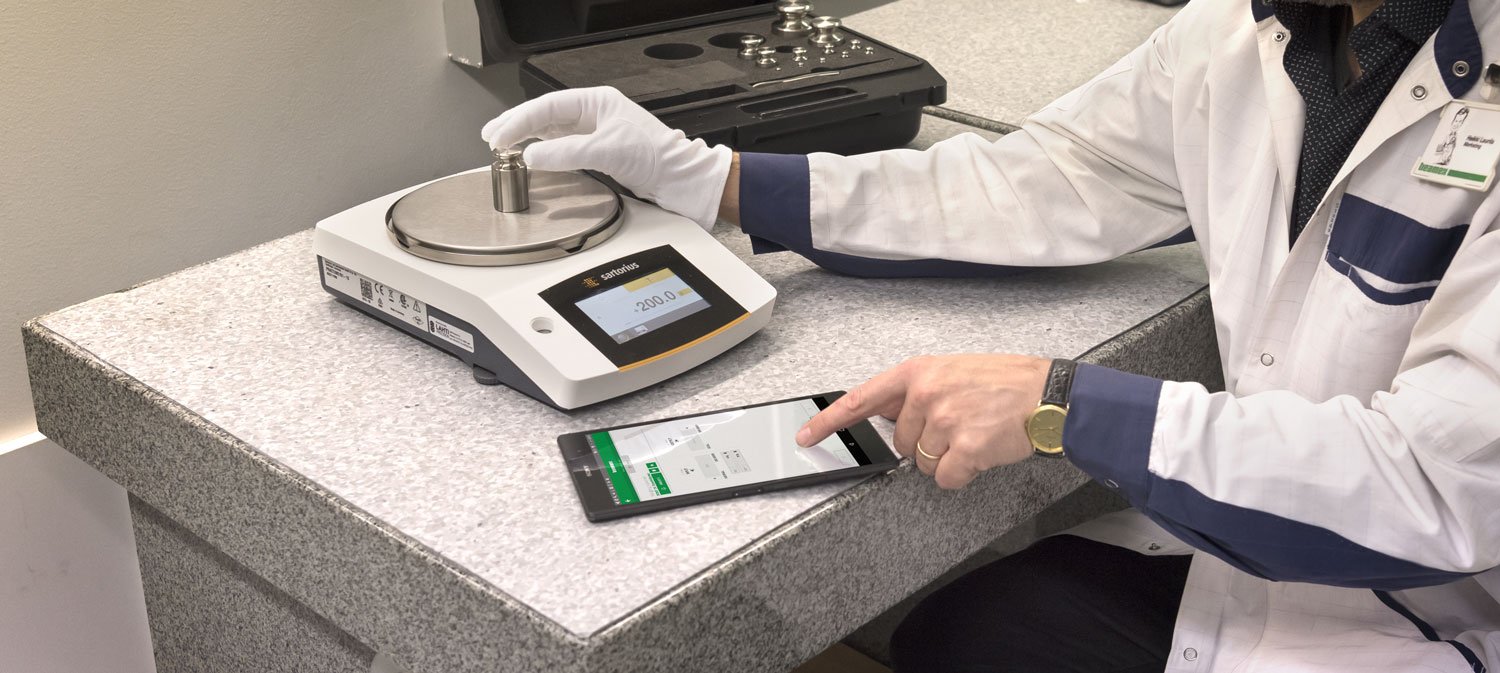

Calibration is key
Calibration is key to ensuring accurate measurements and helping to improve efficiency, compliance, and safety, while minimizing emissions, waste, and risk.
By helping to ensure that measurement data is trustworthy and measurement error is understood, Beamex helps to realize smarter business and supports sustainable growth – for a safer and less uncertain world.
What is adjustment?
When you make a calibration and compare two devices, you may find out there is some difference between the two. So, it is pretty logical that you may want to adjust the device under test to measure correctly. This process is often called adjustment or trimming.
Formally, calibration does not include adjustment, but is a separate process. In everyday language the word calibration sometimes also includes possible adjustment. But as mentioned, the adjustment is a separate process according to most formal sources.

Calibration terminology
For calibration terminology, please refer to our calibration glossary/dictionary.

Why should you calibrate?
In industrial process conditions, there are various reasons for calibration. Examples of the most common reasons are:
- Accuracy of all measurements deteriorate over time
- Regulatory compliance stipulates regular calibration
- Quality System requires calibration
- Money – money transfer depends on the measurement result
- Quality of the products produced
- Safety – of customers and employees
- Environmental reasons
- Various other reasons
More information on “why calibrate” can be found in the below blog post and related white paper: Why calibrate?
How often should you calibrate?
There is no one correct answer to this question, as it depends on many factors. Some of the things you should consider when setting the calibration interval are, but not limited to:
- Criticality of the measurement in question
- Manufacturer’s recommendation
- Stability history of the instrument
- Regulatory requirements and quality systems
- Consequences and costs of a failed calibration
- Other considerations
For more detailed discussions on how often instruments should be calibrated, please read the below linked blog post: How often should instruments be calibrated?

What does traceability mean?
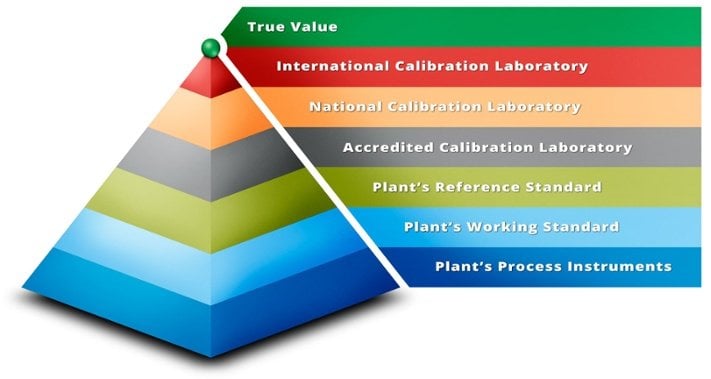
It was mentioned that the reference standard that is used in calibration must be traceable. This traceability means that the reference standard must have also been calibrated using an even higher-level standard. The traceability should be an unbroken chain of calibrations, so that the highest-level calibration has been done in a National calibration center, or equivalent.
So, for example, you may calibrate your process measurement instrument with a portable process calibrator. The portable process calibrator you used, should have been calibrated using a more accurate reference calibrator. The reference calibrator should be calibrated with an even higher-level standard or sent out to an accredited or national calibration center for calibration.
The national calibration centers will make sure that the traceability in that country is at the proper level, using the International Calibration Laboratories or International comparisons.
If the traceability chain is broken at any point, any measurement below that cannot be considered reliable.
More information on the metrological traceability can be found in the below blog post: Metrological Traceability in Calibration – Are you traceable?
Calibration uncertainty, measurement uncertainty
When you calibrate an instrument with the higher-level device, the process always includes some uncertainty. Uncertainty means the amount of “doubt” in the calibration process, so it tells you how “good” the calibration process was. Uncertainty can be caused by various sources, such as the device under test, the reference standard, calibration method or environmental conditions.
In the worst case, if the uncertainty of the calibration process is larger than the accuracy or tolerance level of the device under calibration, then calibration does not make much sense.
The aim is that the total uncertainty of calibration should be small enough compared to the tolerance limit of the device under calibration. The total uncertainty of the calibration should always be documented in the calibration certificate.
More information on calibration uncertainty can be found in this blog post: Calibration uncertainty for dummies.
What do TAR and TUR mean?
Test Accuracy Ratio (TAR) and Test Uncertainty Ratio (TUR) are sometimes used to indicate the difference between the device under test and the reference standard used. The ratio is the accuracy (or uncertainty) of the device under test compared to the one of the reference standard.
We commonly hear about using a TAR ratio of 4 to 1, which means that the reference standard is 4 times more accurate than the device under test (DUT). I.e. the accuracy specification of the reference standard should be 4 times better (or smaller) than the one of DUT.
The idea of using certain TAR/TUR (for example 4 to 1) is to make sure that the reference standard is good enough for the purpose.
It is good to remember that for example the TAR only takes into account the accuracy specifications of the instruments and does not include all the uncertainty components of the calibration process. Depending on the type of calibration, sometimes these uncertainty components can be larger than the accuracy specifications.
It is recommended to always calculate the total uncertainty of the calibration.
More detailed information on the calibration uncertainty, please read the related blog post: Calibration uncertainty for dummies
What do tolerance limit, out of tolerance, and pass/fail calibration mean?
Most often when you calibrate an instrument, there is a tolerance limit (acceptance limit) set in advance for the calibration. This is the maximum permitted error for the calibration. If the error (difference between DUT and reference) at any calibrated point is larger than the tolerance limit, the calibration will be considered as “failed.”
In the case of a failed calibration, you should take corrective actions to make the calibration pass. Typically, you will adjust the DUT until it is accurate enough.
More detailed discussions on calibration tolerance can be found in the below blog post: Calibration out of tolerance: What does it mean and what to do next?
What are As Found and As Left calibration?
You may hear the terms “As Found” and “As Left” used in calibration.
The term “As Found” is used for the first calibration you make–the way you found the instrument. If there are errors found and you make an adjustment, then after the adjustment you make another calibration which is called the “As left” calibration– the way you left the instrument.
To summarize the process: Make “As Found” calibration – Adjust, if necessary – Make “As Left” calibration.
What is a calibration certificate?
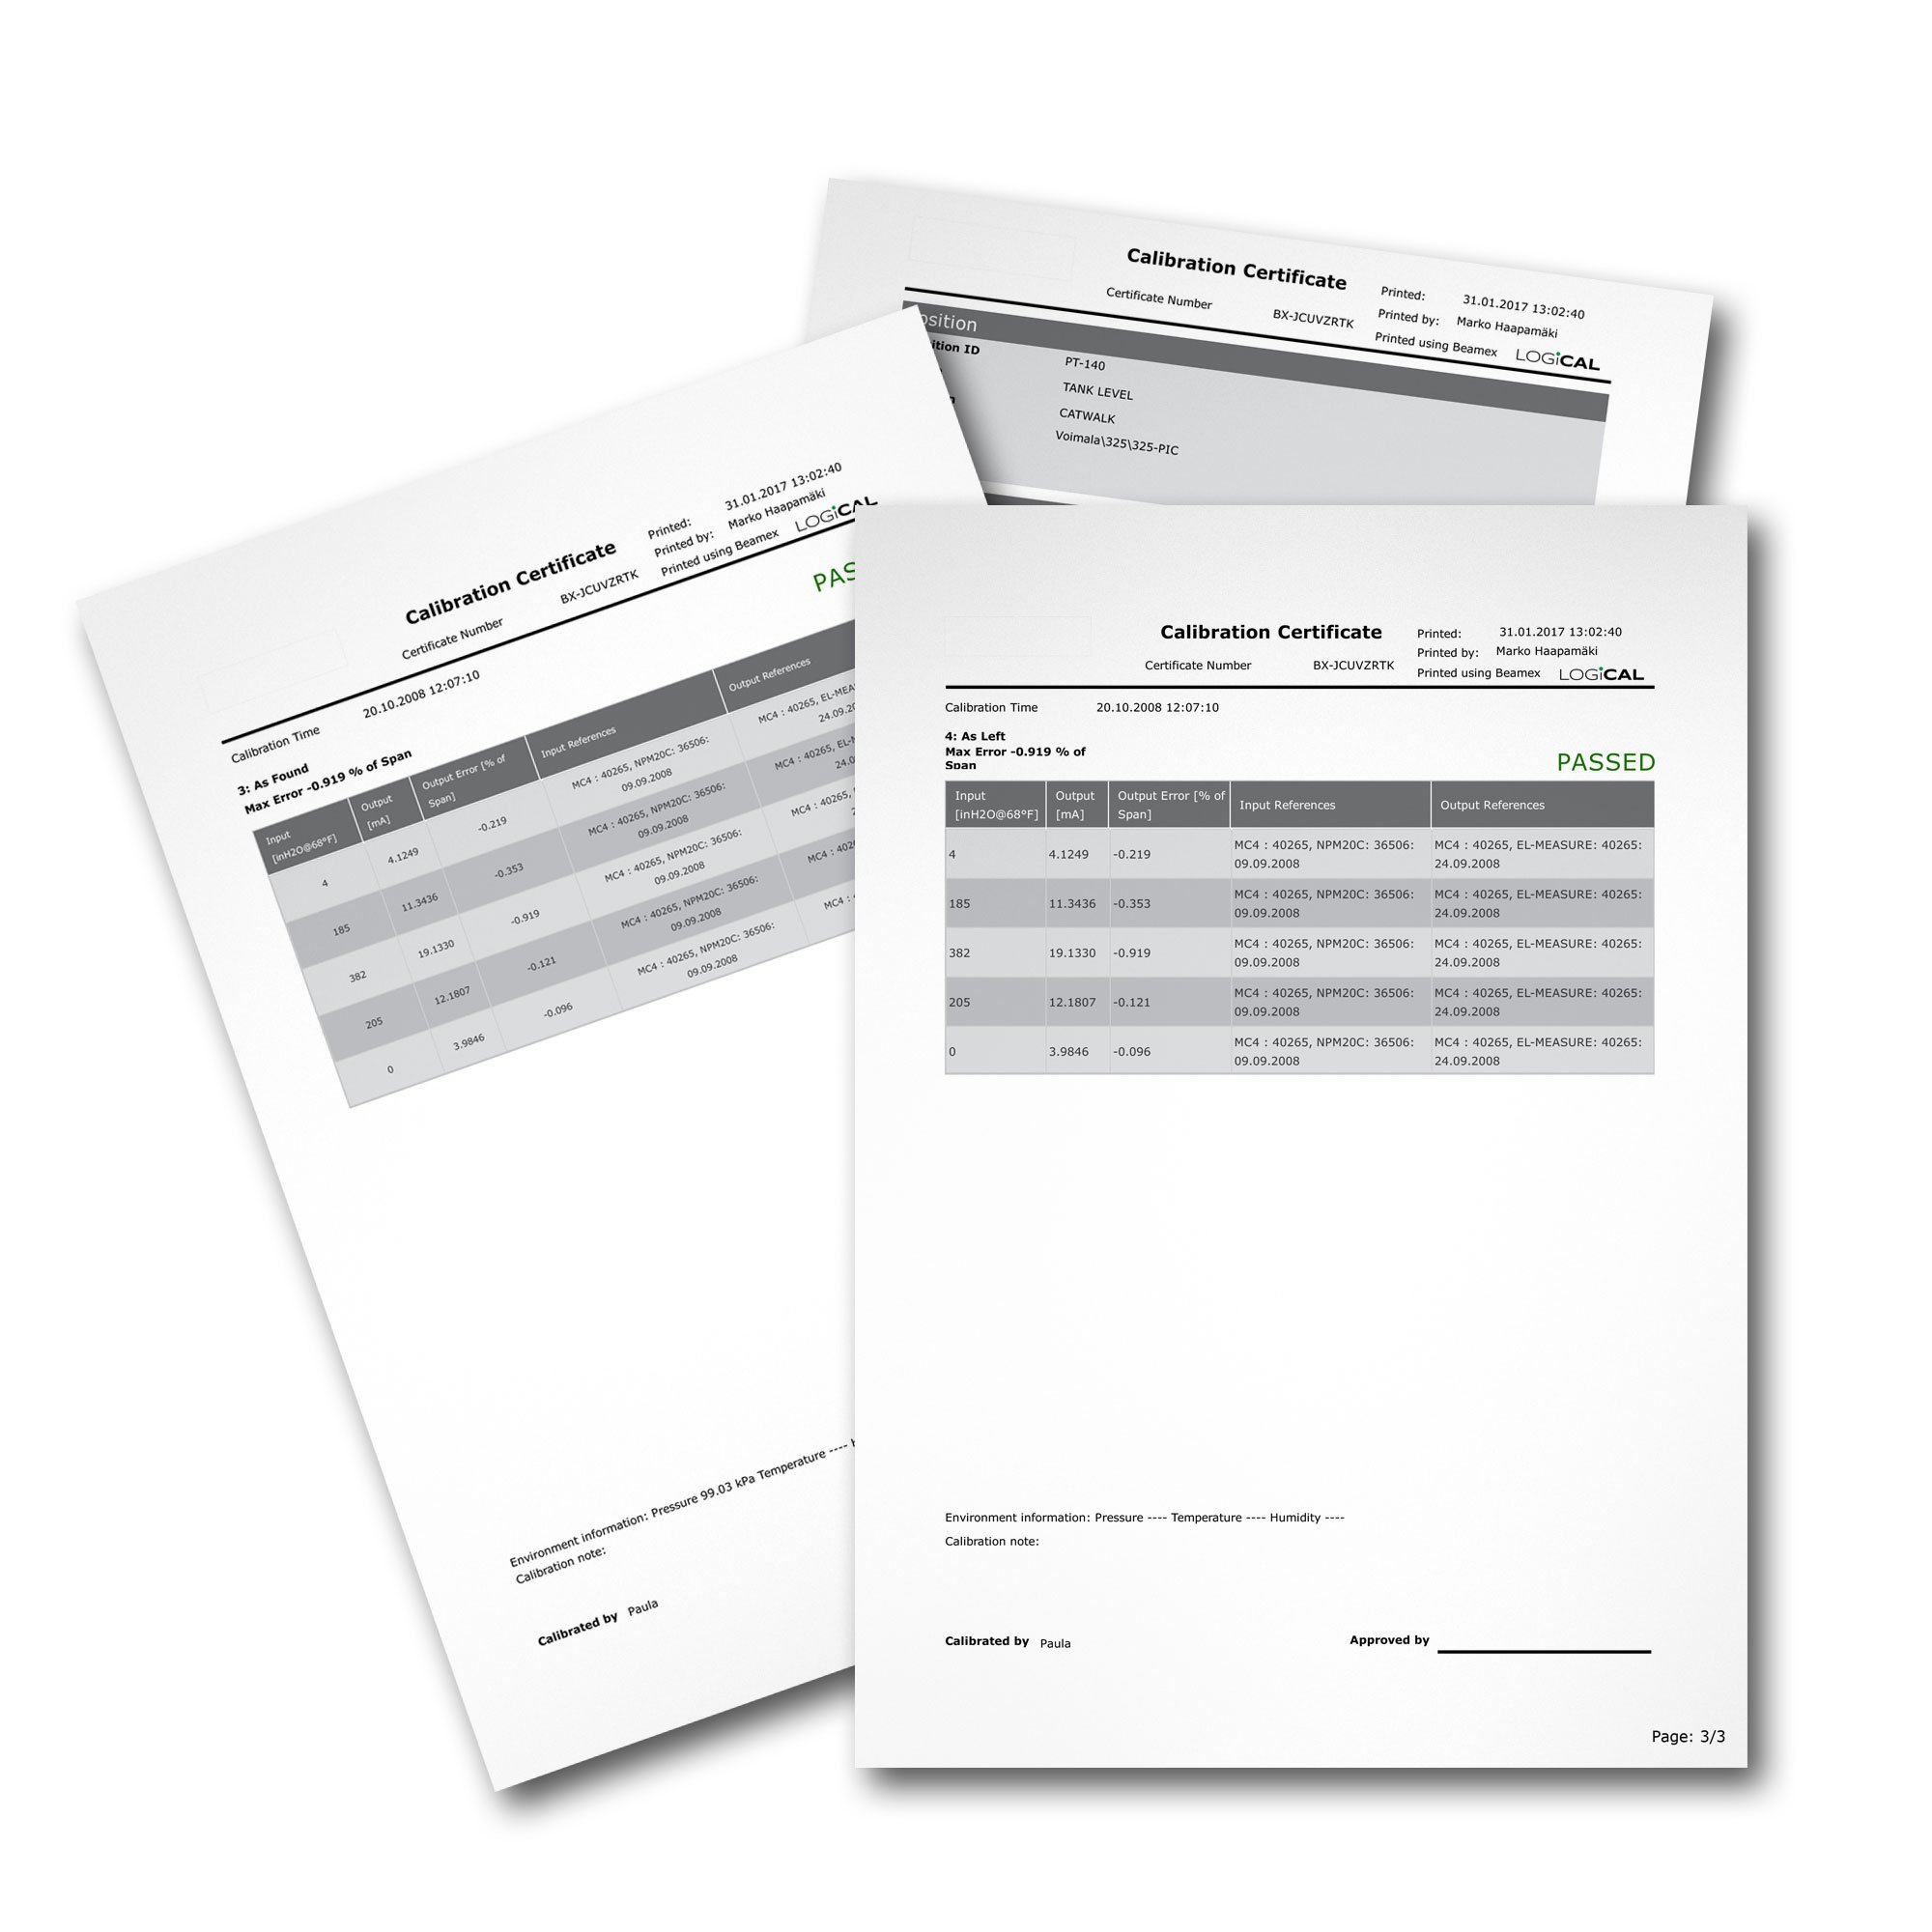
The definition of calibration includes the word “documented.” This means that the calibration comparison must be recorded. This document is typically called a Calibration Certificate.
A calibration certificate includes the result of the comparison and all other relevant information of the calibration, such as equipment used, environmental conditions, signatories, date of calibration, certificate number, uncertainty of the calibration, etc.
What is an accredited calibration laboratory?
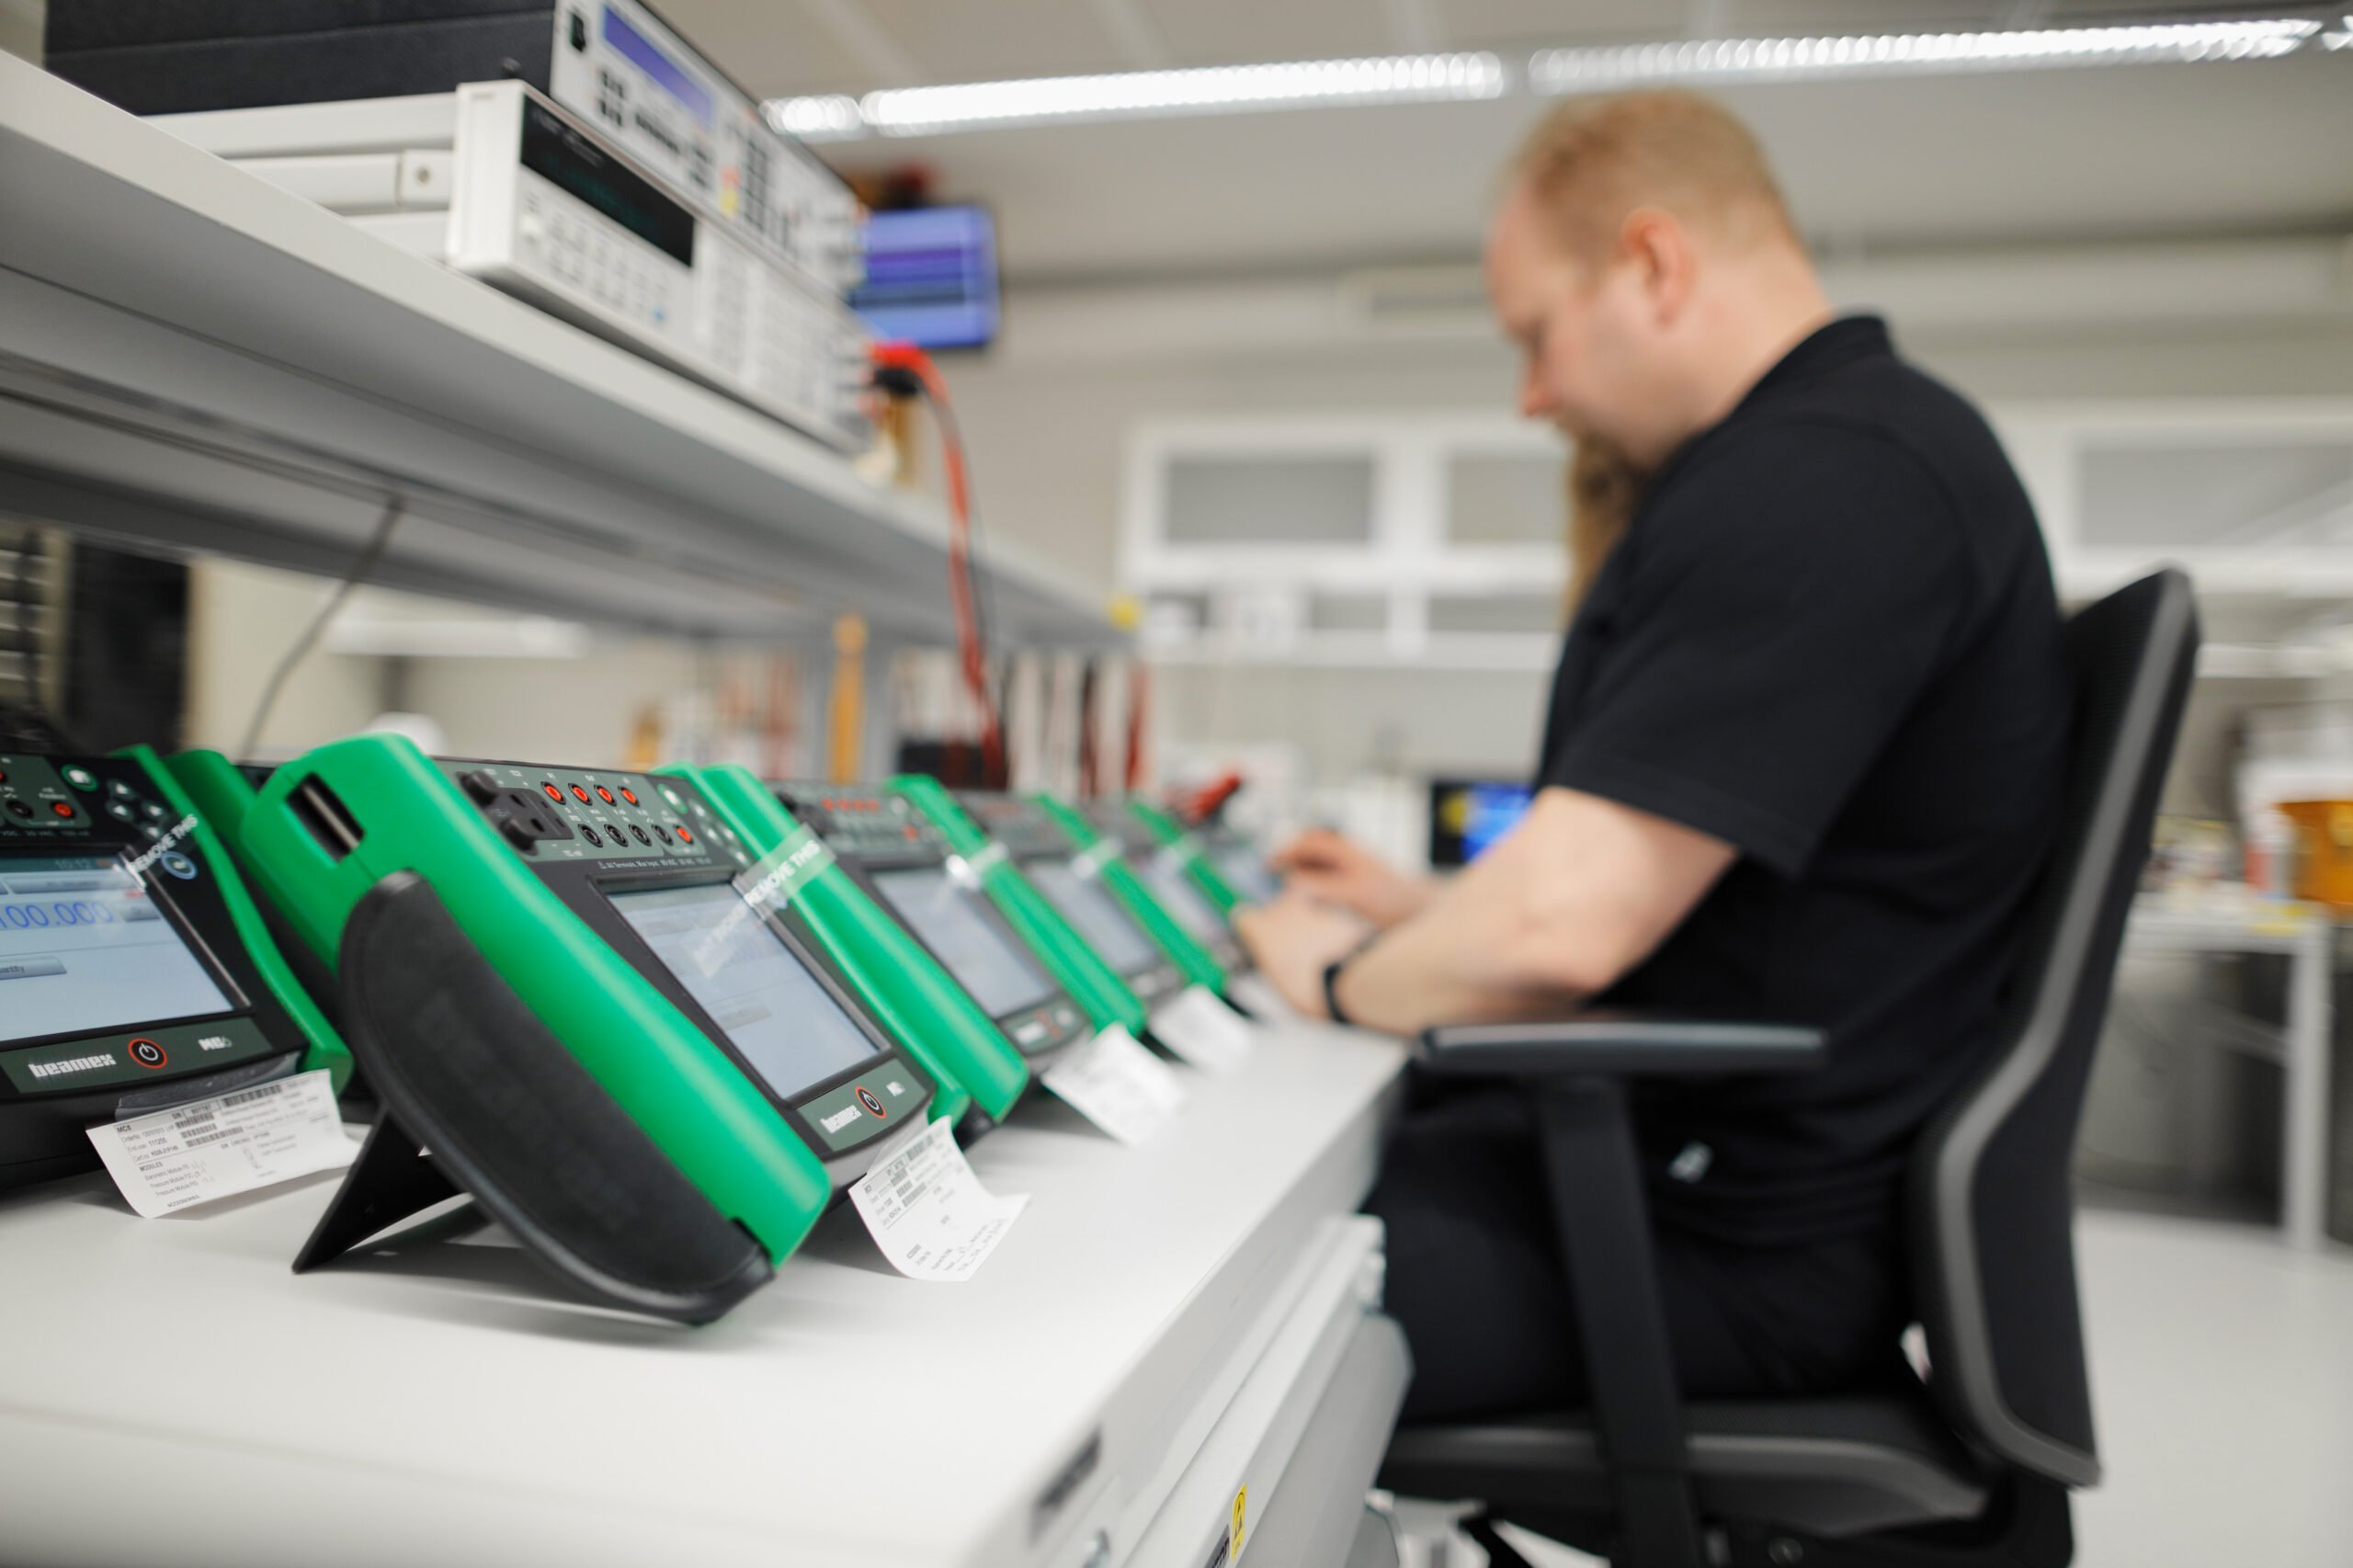
A calibration laboratory accreditation is a third-party recognition of the competence of the laboratory. Accreditation is done in accordance to globally uniform principles and most commonly the calibration laboratory accreditation is based on the international standard ISO/IEC 17025.
Most National accreditation bodies are member of the ILAC (International Laboratory Accreditation Cooperation) and the MRA (Mutual Recognition Arrangement) agreement. ILAC’s Mutual Recognition Arrangement (ILAC MRA) has been signed by over 100 signatory bodies.
The Beamex Oy calibration laboratory at the headquarters in Finland has been accredited since 1993.

Digital flow of calibration data
Traditionally calibration has been performed using a calibration reference and writing the results manually on a piece of paper.
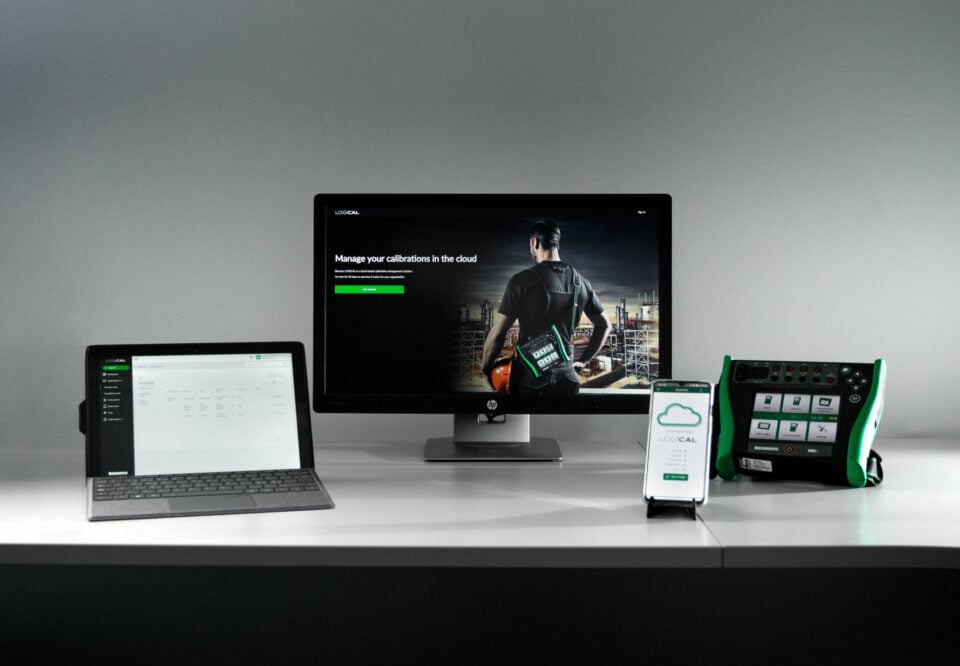
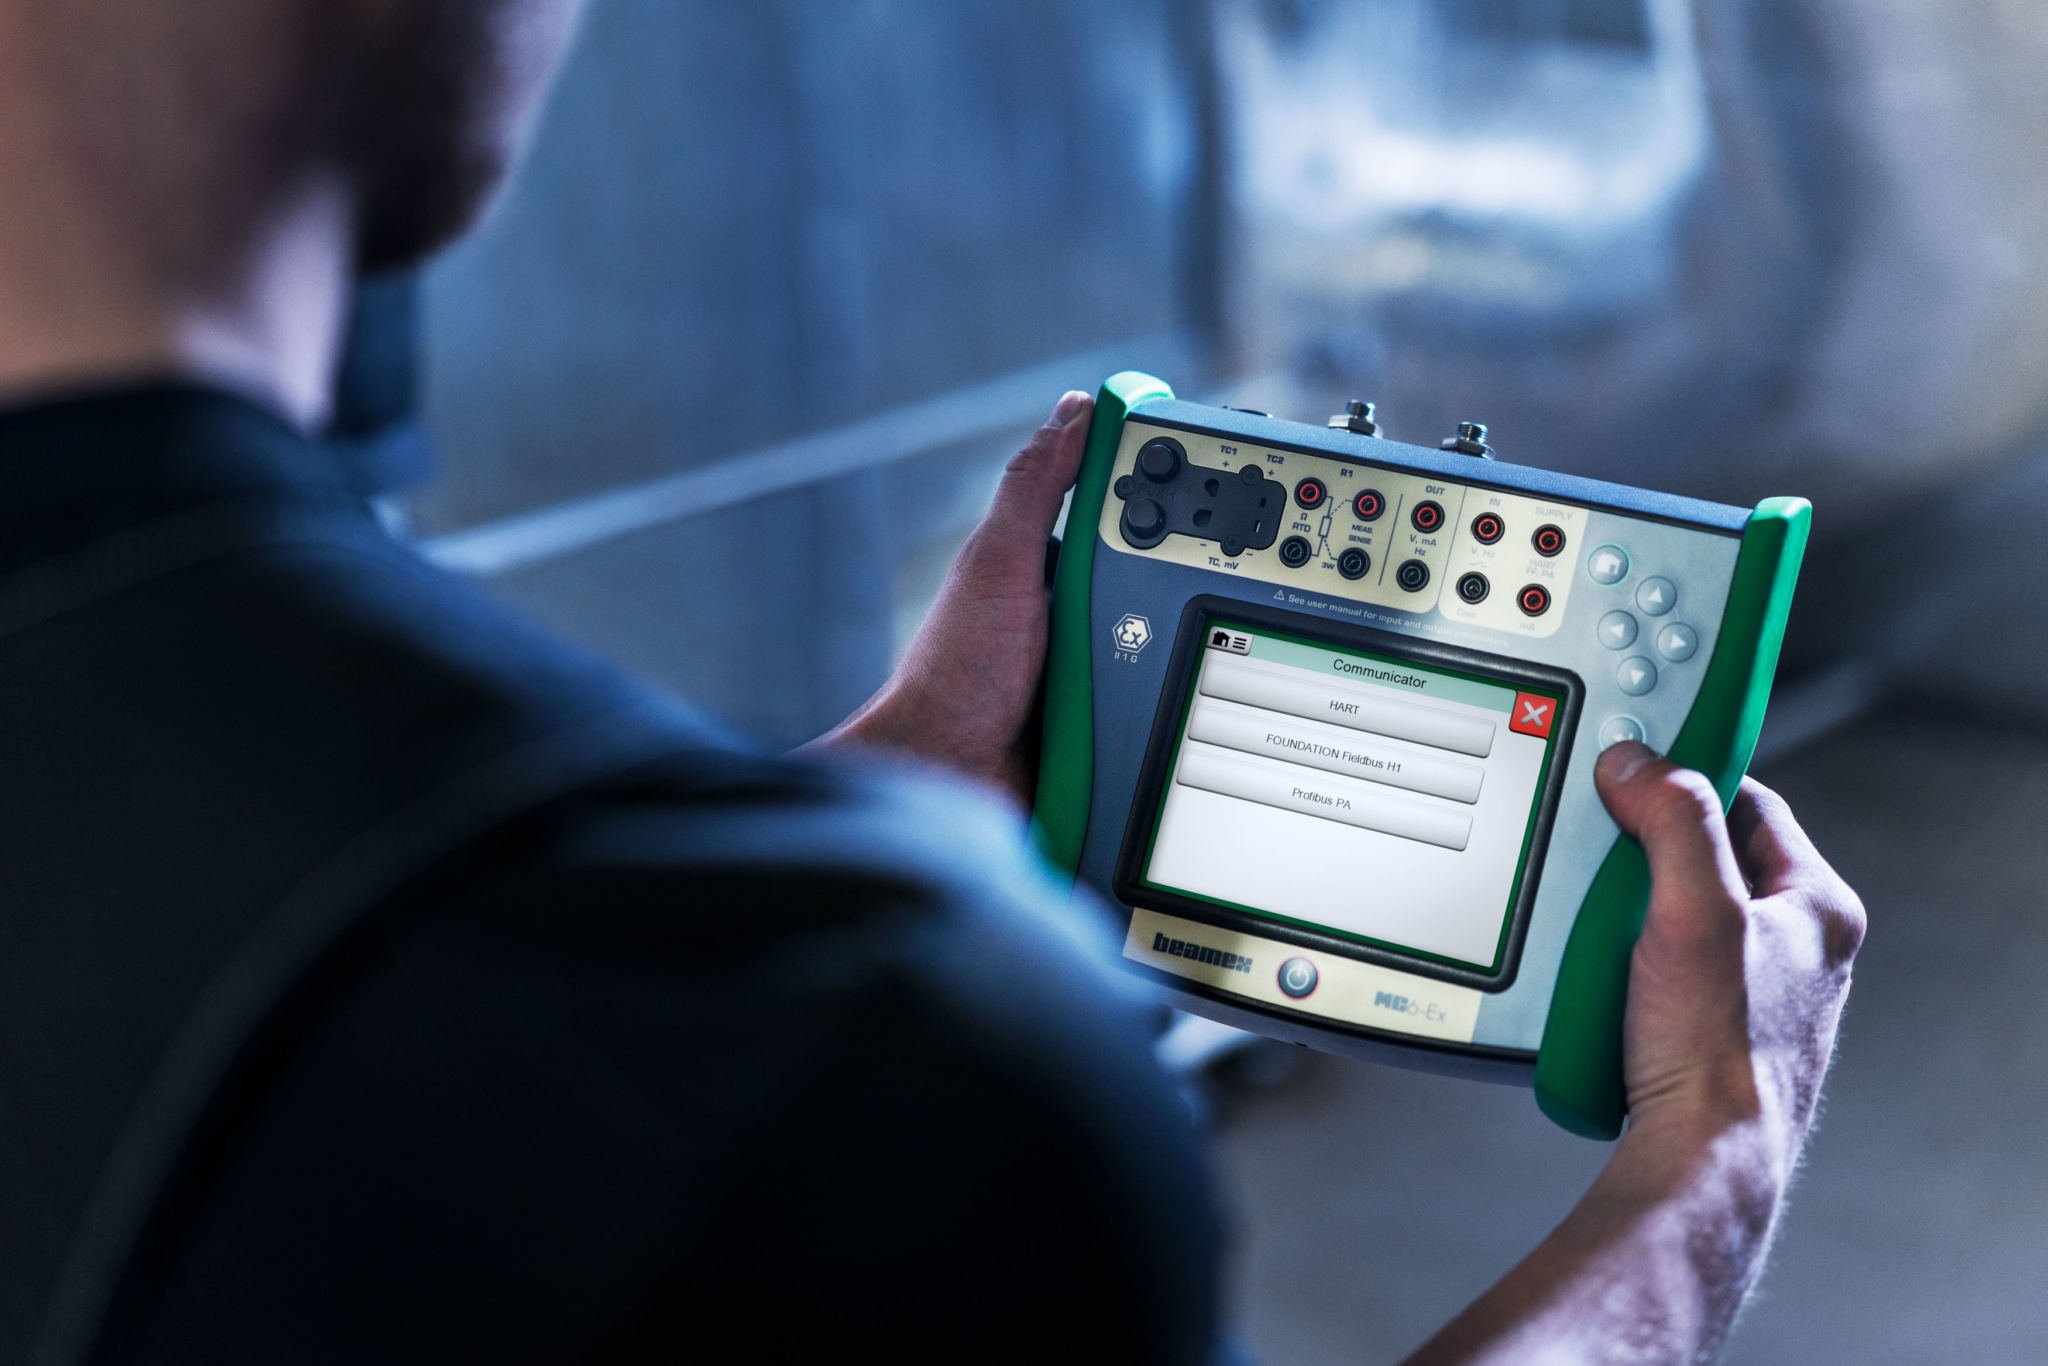
In a modern electronic and paperless systems everything can be done paperless. The planning can be done in the maintenance management system, from where the work orders are electronically transferred to the calibration management system. The calibration management system can download the work orders electronically to portable documenting calibrators. When the work is performed with documenting calibrators, they automatically save the results into their memory. Once calibration work is completed, the results can be downloaded from calibrator to the calibration management software. Finally, the calibration software sends an acknowledgement to the maintenance management system that the work has been completed.
Smart data analysis
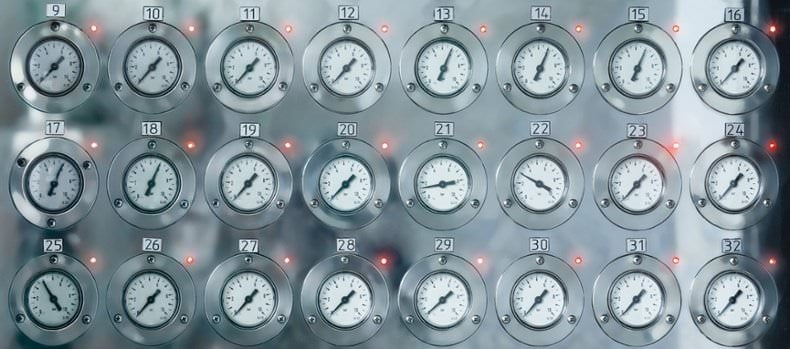
Data is your most valuable asset. An optimal calibration solution captures data digitally at the measurement source and ensures secure data flow between products and systems.
A completely digital flow of traceable and reliable calibration data throughout your business improves efficiency, increases safety and ensures compliance.
Use your high-quality data to drive continuous improvement. Analyze trends, optimize maintenance procedures, increase traceability, adapt to change and deliver compliance. Data-enabled decision-making helps your whole team to work smarter.

Conclusions
Process instrument calibration is comparing and documenting the measurement of a device to a traceable reference standard. It is important to calibrate so that you can be confident that your measurements are valid. Measurement validity is important for many reasons, including safety and quality. For best results and reliability, make sure the uncertainty of the calibration is small enough. Or use a calibrator that has accuracy specification several times better than the device under test. Finally, setting calibration tolerances and frequency should be determined by several factors, including instrument criticality.
Summary
Formally, calibration is a documented comparison of the measurement device to be calibrated against a traceable reference standard/device.
The reference standard may be also referred to as a “calibrator.” Logically, the reference standard should be more accurate than the device to be calibrated. The reference standard should also be calibrated traceably.
Formally the calibration does not include adjustment or trimming, although in everyday language it is often included.
Formally, traceability is a property of the result of a measurement, through an unbroken chain of comparisons each having stated uncertainties.
In practice, traceability means that the reference standard has also been calibrated using an even higher-level standard. The traceability should be an unbroken chain of calibrations so that the highest-level calibration has been done in a National calibration center or equivalent.
So, for example, you may calibrate your process measurement instrument with a portable process calibrator. The portable process calibrator you used, should be calibrated using a more accurate reference calibrator. The reference calibrator should be calibrated with an even higher-level standard or sent out to an accredited or national calibration center for calibration.
Calibration uncertainty is a property of a measurement result that defines the range of probable values of the measurand.
Uncertainty means the amount of “doubt” in the calibration process, so it tells how “good” the calibration process was. Uncertainty can be caused by various sources, such as the device under test, the reference standard, calibration method or environmental conditions.
In the worst case, if the uncertainty of the calibration process is larger than the accuracy or tolerance level of the device under calibration, then calibration does not make much sense.
In a calibration procedure, the test accuracy ratio (TAR) is the ratio of the accuracy tolerance of the unit under calibration to the accuracy tolerance of the calibration standard used.
In a calibration procedure, the test uncertainty ratio (TUR) is the ratio of the accuracy tolerance of the unit under calibration to the uncertainty of the calibration standard used.
We commonly hear about using a TAR ratio of 4 to 1, which means that the reference standard is 4 times more accurate than the device under test (DUT). I.e. the accuracy specification of the reference standard should be 4 times better (or smaller) than the one of DUT.
In industrial process conditions, there is various reason for calibration. Examples of the most common reasons are:
- Accuracy of all measurements deteriorates over time
- Regulatory compliance stipulates regular calibration
- Quality System requires calibration
- Money – money transfer depends on the measurement result
- Quality of the products produced
- Safety – of customers and employees
- Environmental reasons
- Various other reasons
A common question is how often should instruments be calibrated?
There is no one correct answer to this question, as it depends on many factors. Some of the things you should consider when setting the calibration interval are, but not limited to:
- The criticality of the measurement in question
- Manufacturer’s recommendation
- Stability history of the instrument
- Regulatory requirements and quality systems
- Consequences and costs of a failed calibration
- Other considerations
The term “As Found” is used for the first calibration you make–the way you found the instrument. If there are errors found and you make an adjustment, then after the adjustment you make another calibration which is called the “As left” calibration– the way you left the instrument.
To summarize the process: Make “As Found” calibration – Adjust if necessary – Make “As Left” calibration.
The definition of calibration includes the word “documented.” This means that the calibration comparison must be recorded. This document is typically called a Calibration Certificate.
A calibration certificate includes the result of the comparison and all other relevant information of the calibration, such as equipment used, environmental conditions, signatories, date of calibration, certificate number, the uncertainty of the calibration, etc.
Most often when you calibrate an instrument, there is a tolerance limit (acceptance limit) set in advance for the calibration. This is the maximum permitted error for the calibration. If the error (the difference between DUT and reference) at any calibrated point is larger than the tolerance limit, the calibration will be considered as “failed.”
In the case of a failed calibration, you should take corrective actions to make the calibration pass. Typically, you will adjust the DUT until it is accurate enough.
Explore our calibration solutions

Calibration management
Discover how Beamex calibration software helps you digitalize and automate calibration processes.
Calibration software >
Field calibration
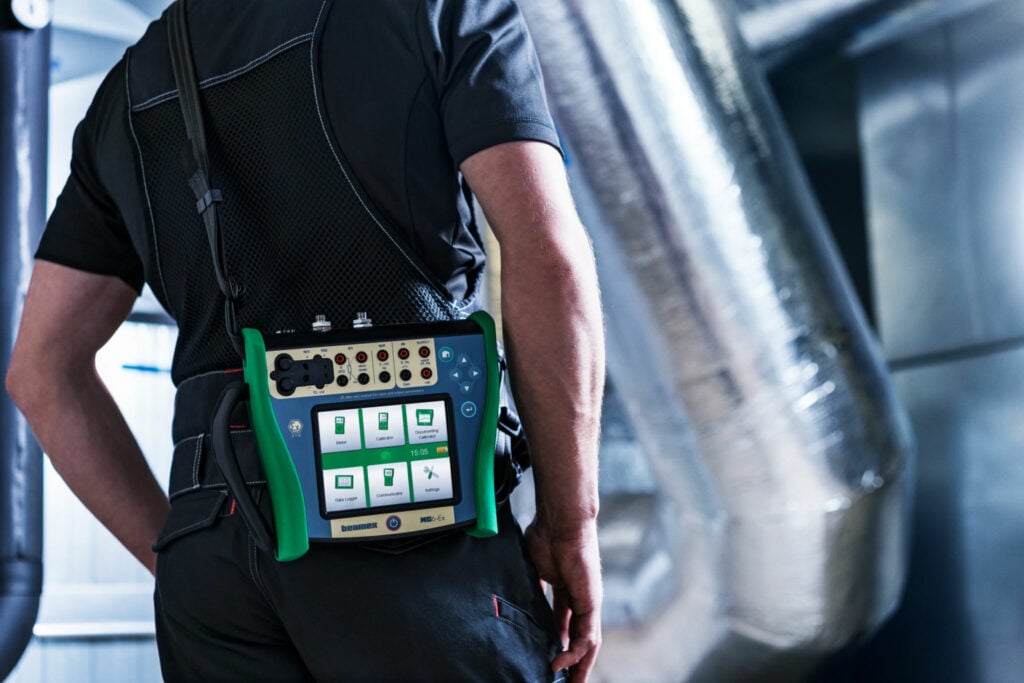
Experience the Beamex portfolio of advanced field calibration technology.
Calibrators >

Workshop calibration
Meet the Beamex range of industrial workshop calibration solutions.
Workshop calibration >

Services
Get the most out of Beamex technology with expert services, and calibration and repair services.
Services >

